

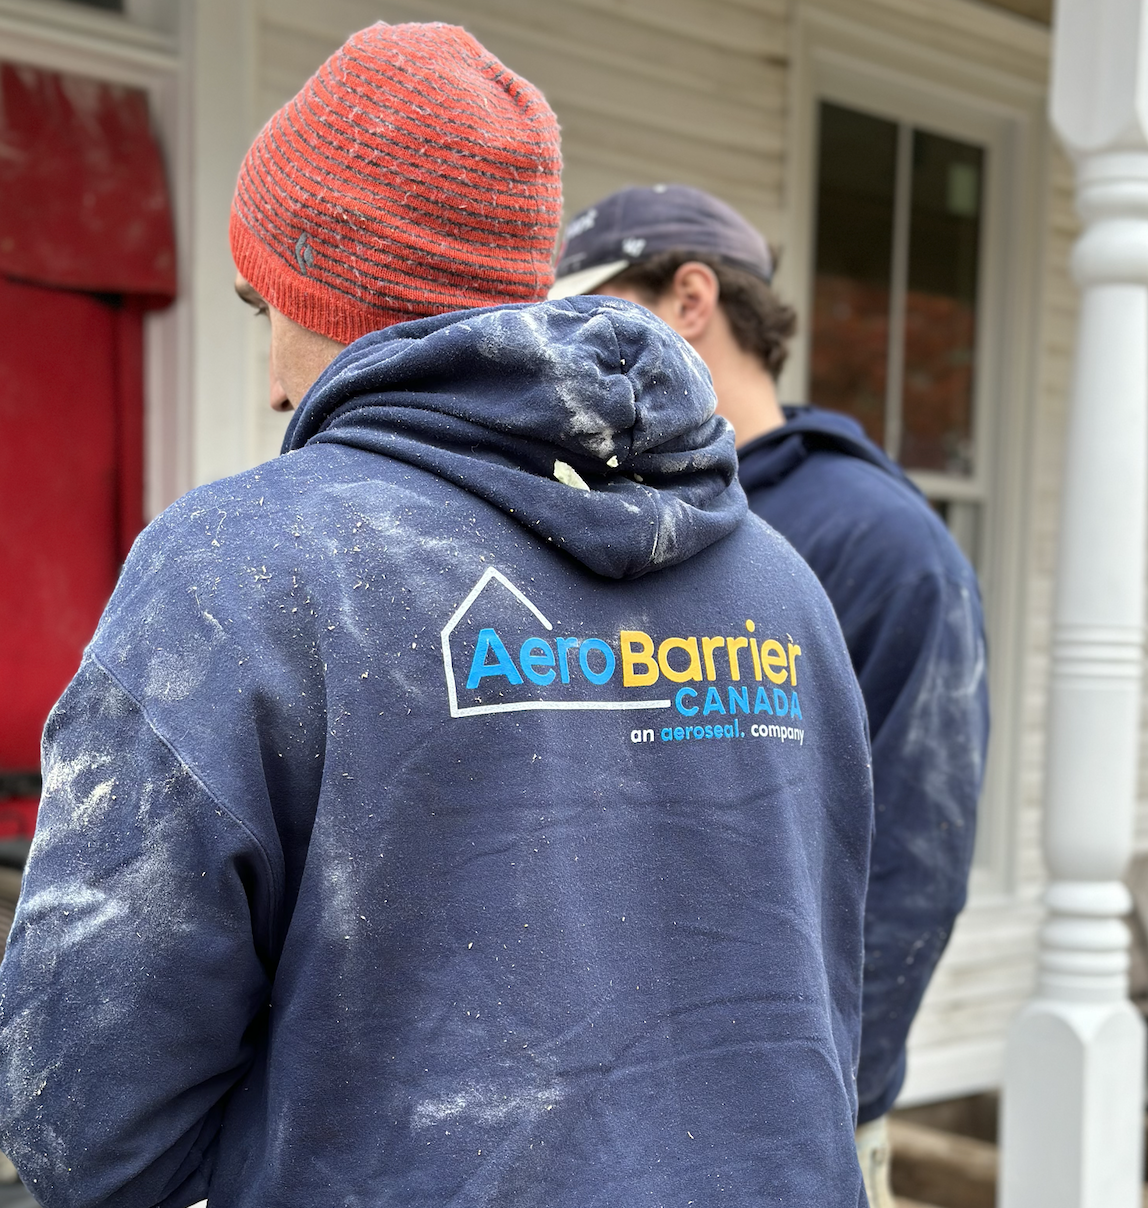
Earlier this week, I shared the news of our air sealing approach in the house – a new technology from Aeroseal, which will help us to dramatically reduce the air changes per hour and, ultimately, make things more efficient and comfortable.
Air sealing is, of course, a one-two punch alongside insulation. We had been getting many questions along the way on Instagram about our insulation choices for the house, so we wanted to share our selections here and the rationale.
Spoiler alert: our insulation choices are, well, boring – despite starting out by researching a whole range of options! Given all the smart and green tech we’re putting into the house (like our cold climate heat pump, our heat pump water heater, or our Aeroseal process), you might expect some space-aged insulation or all-natural wonder material. Well, you might be surprised by where we landed after a lot of careful thought and consideration.
Our criteria for choosing insulation
Last September, while just beginning the planning stages for the restoration, we shared our preliminary thoughts on how we were making choices on everything for the house. A primary criterion, of course, was sustainability. Specifically, we set out to be hyper-focused on two sustainability factors: embodied carbon and operating efficiency.
Embodied carbon is the total greenhouse gas emissions associated with a material’s production, transportation, and construction. Basically, this encompasses everything it takes to make something before it gets put into use.
Operational carbon, on the other hand, refers to the carbon emissions associated with the day-to-day energy use of a house over its lifetime. This includes heating, cooling, lighting, etc.
These two lenses can often be at odds with each other. To use an insulation example, spray foam can achieve great R-values per inch, making a home more efficient operationally (less carbon emissions over its lifetime), but it uses a relatively enormous amount of carbon to produce and apply. That’s a very real tradeoff to consider.
Our rough set of criteria, then, for choosing insulation came down to the following (not necessarily in this order):
- Embodied Carbon: how carbon-intense is the production of the material?
- Operating Efficiency: how effective is the insulation at getting us to acceptable R-values?
- Material Safety: how free from toxins, VOCs, and other hazards is the insulation material?
- Cost Effectiveness: what is the price-to-value equation given the above questions?
- Implications for Air & Vapour Management: how does a chosen insulation’s behaviour in certain conditions impact our air & vapour barrier choices?
In this blog post, I’ll lay out which insulation we chose for each type of area in the house.
Before I dive into those choices, I’ll point out this chart by Architecture 2030, which I’ll refer to throughout. This breakdown lists the carbon footprint of common types of insulation, many of which we looked at in our early research.

1- For exterior walls and ceilings, we chose fibreglass batts
Fibreglass insulation going in our exterior walls and vaulted ceilings in the addition.
At the outset of our project – before researching – I had actually ruled out fibreglass. It just seemed out of vogue, and I assumed there was some grave drawback to the material, so I just overlooked it. My experience going through the renovation has me chalking it up to marketing, and that’s where you need to dig deeper into the actual data.
What I learned surprised me. You can see in the chart above that fibreglass actually has the lowest carbon footprint of all the common insulation materials. Given its bad wrap – and the love that ‘mineral wool’ gets – I would have expected it to be a far more severe carbon offender.
Fibreglass used to be made with formaldehyde as a binder that keeps all the fibers together, which also had me spooked initially. We’re doing everything we can to avoid formaldehyde and other off-gassing chemicals. But all fibreglass insulation made and sold in North America, from what I understand, is now mandated to be formaldehyde-free (we still verified with the specific batts we bought).
Over the years, there has also been concern about the hazards of working with fibreglass. Part of that was because of the old formaldehyde binding agents. The other part is that fibers become airbone while working with the material. Should you still wear protective gear when installing it? Absolutely. And the same is true – if not more critical – for almost all the other insulation materials on the list. Our contractors told us that the batts we purchased – from Johns Manville for exterior walls and Owens Corning for interior – were both great to work with (better than mineral wool in their opinion). But wear your gear! Whether it’s fibreglass or cotton, you don’t want stuff going into your lungs. Period.
In terms of R-values, fibreglass gets about the same values – give or take R1 or 2 – vs most materials, with the exception of spray foam. It means that we’ll get about R12 in our 2×4 walls (original part of the house), R22 in our 2×6 walls (addition and new framing parts); and R40+ in our ceilings (all the addition is vaulted ceilings, and our new primary bedroom is as well).
In ceiling areas, we beefed up the rafter depth to squeeze in R40 – and even a little more – wherever we could.
And in terms of cost, fibreglass was also the most budget-friendly.
Could we have gone further to source an insulation material with a smaller – or even positive – carbon footprint? The answer, for us, was no. The budget didn’t allow it. We were disappointed to learn that hemp, straw, denim, and wool are significantly more expensive while mostly offering the same R-values. They also came with their own tradeoffs, ranging from fire ratings, pest resistance, moisture absorption, and more. We, of course, loved the carbon aspect – but it didn’t hit all of our criteria. We really hope that these products can become more competitively priced in the future.
2- For the third floor/attic, we chose spray foam insulation

Spray foam insulation in our third floor, where the 6″ rafters meant we couldn’t get the R-values we desired with batts. And headroom meant we couldn’t deepen the rafters either. Sometimes, spray foam is the best choice.
If you had asked me at the project’s outset if we’d use spray foam insulation, I would have offered a hearty “not here!” response. I love foam’s performance aspects: it has great R-values per inch, gets you an air and vapour barrier, and reduces the beefing up of framing. But it has a whole suite of considerations: embodied carbon, off-gassing, and cost.
I also worry about foaming in an old house for many reasons. I hate the idea of permanently altering the wood substrate, even sheathing. And you also hear concerns about moisture getting into foamed areas (say through a roof leak) and not noticing until it’s too late. In my view, that’s a bit of a lazy “anti-foam” argument, confusing a roofing issue with an insulation issue. Building Science Fight Club has also shared data and perspectives on this. See Christine’s piece “The Myth about Spray Foam and Roof Leaks” here.
Despite the drawbacks of foam – real or perceived – sometimes it really is the only and best option. That was true for the attic.
Our attic rafters are only 6″ deep, meaning we’d only get R22 or so with fibreglass batts – failing to meet code and coming short of where we wanted to be performance-wise. Beefing up the rafters in this space wasn’t an option, unfortunately, as we were already tight on headroom. Another 6″ would render this space unwalkable.
The foam also dramatically helps with our air sealing strategy (especially when boosted by the Aeroseal application we’re doing in a few weeks). The continuous foam seal goes from wall plate, to gable peak, down to the opposite wall plate. The attic is already cooler, and WAY quieter!
If you do choose foam, insist on one with a more environmentally friendly blowing agent (one of the main culprits in foam). Look for a foam with an HFO (hydrofluoroolefin), not HFC (hydrofluorocarbon). HFOs have up to 90% lower global warming potential (GWP).
I was really uncomfortable using foam, given our emphasis on embodied carbon, and I did lose a little sleep over it. In this application, though, it was the only option so we did our homework to reduce the impact as much as possible. We are very happy with the R-value it provides. So this was the right decision for us in the attic.
3- For sound dampening in interior walls and ceilings, we chose fibreglass batts

Sound dampening batts in every interior wall and ceiling we could fit them into!
I won’t dwell on the environmental / performance attributes in this section, as the sound dampening batts we use are also fibreglass and come with the same tradeoffs as the fibreglass batts we used in the exterior walls and ceilings.
With all the walls open, we wanted to take every opportunity we could to make the house quiet. Given that we both work from home, this was important. Also, Sarah wakes up before me and our coffee grinder (which is excellent) is the loudest known device on the planet – which is just below our bedroom. Other areas feature bathrooms overhead, like in the dining room or a bedroom above a spot where a late-night movie might be on loud. In areas like this, we stuffed as much as possible into ceilings and walls. I don’t think you quite get 2X the sound dampening with 2X the batts, but we had the material (sourced on Marketplace! See the last section of this post) and used it.
Some data demonstrates interior wall insulation as helping to moderate room-to-room HVAC performance and drive overall efficiency of heating and cooling.
For these areas, we used fibreglass sound-dampening batts by Owens Corning, from their QuietZone lineup. It’s important to pick batts specifically for the purposes of sound dampening for these areas, as the way their massing/fibers are constructed is quite different from blocking sounds vs. absorbing thermal temperature difference. To really sound-proof requires isolation from vibration through resilient channels and other techniques. On our budget, we were willing to take the benefits from sound-dampening batts and leave it at that.
Our smart vapour barrier

Finally, I want to touch on our smart vapour barrier. I know it’s not technically insulation but it is part of the overall wall cavity/assembly and needs to work in concert with our insulation material to give us the benefits we want and mitigate against the risks we’re working to avoid (like moisture).
The whole job of a vapour barrier is to control the flow of vapour (moisture) and air between the inside and outside. Without a barrier, air will find its way through your wall assembly, making your HVAC work harder and indoor air quality suffer. With that air comes moisture and, if caught in the right conditions, can lead to all kinds of problems in your wall cavity and house.
Traditional barrier, for decades, has been impermeable poly/plastic. Its low perms rating means it stops air and vapour in its tracks. Good, right?
Not so fast…
In certain conditions, that can actually cause problems. Think about a hot, humid day outside when your AC is humming inside. Humid exterior air travels through your exterior wall and gets stopped at the barrier. That barrier, when cool, now turns that humidity into sweat – inside the wall. Add insulation, sheathing, siding, and other materials to the mix in there, and it becomes a problem.
The challenge has always been that you sometimes want the barrier to be open (like in the example above, to let humidity pass through the wall, not to be trapped). But other times, like in dry winter seasons, you want the barrier to be super tight. Impossible, you say!
New smart barriers are selectively vapour permeable, meaning they respond to certain conditions to open and close to vapour (while still being air tight). We landed on Intello Plus for its proven use in Passive Haus projects and its superior degree of openness in those hot, humid months. In our old house – wood-framed, wood siding, wood sheathing, batt insulation – knowing that the barrier is going to open up and dry to the inside (where the AC then takes care of the resulting bump in humidity), means that we’ll sleep better.
One last tip: how to save thousands on your insulation

Filling up our Home Depot rental van with with insulation to take over to the house!
We learned one secret about sourcing insulation that saved us a few thousand dollars.
When you sit down to estimate your insulation quantities, you’ll find it’s extremely challenging. Nooks, crannies, linear feet, square feet – I had several spreadsheets going. To top it off, bags of insulation are all sold in different quantities. You ditch the precise estimation and make a generous guess at a certain point.
The result, I believe, is almost always that people get more insulation than they need.
But this is also an opportunity – because all those contractors and renovators out there who purchased too much insulation? It’s all on Facebook Marketplace. Yes, there are DOZENS of people on FB MP who have leftover insulation. Some people had as many 25 bags, some 3. I rented a Home Depot van and picked them all up over the course of a few days – some for as low as 30% of what they would have cost new. We estimate we saved about $5,000 doing this – well worth it for a few hours time and $200 in van rental fees.
Sources
While we did get much of our insulation on Marketplace, you can find the specific manufacturers we used here:
Exterior Wall & Ceiling Fibreglass Batts: Johns Manville
Interior Sound Dampening Fibreglass Batts: Owens Corning
Spray Foam: Heatlok Soya HFO
Smart Vapour Barrier: Intello Plus, sold by 475 High Performance Building Supply


+ show Comments
- Hide Comments
add a comment